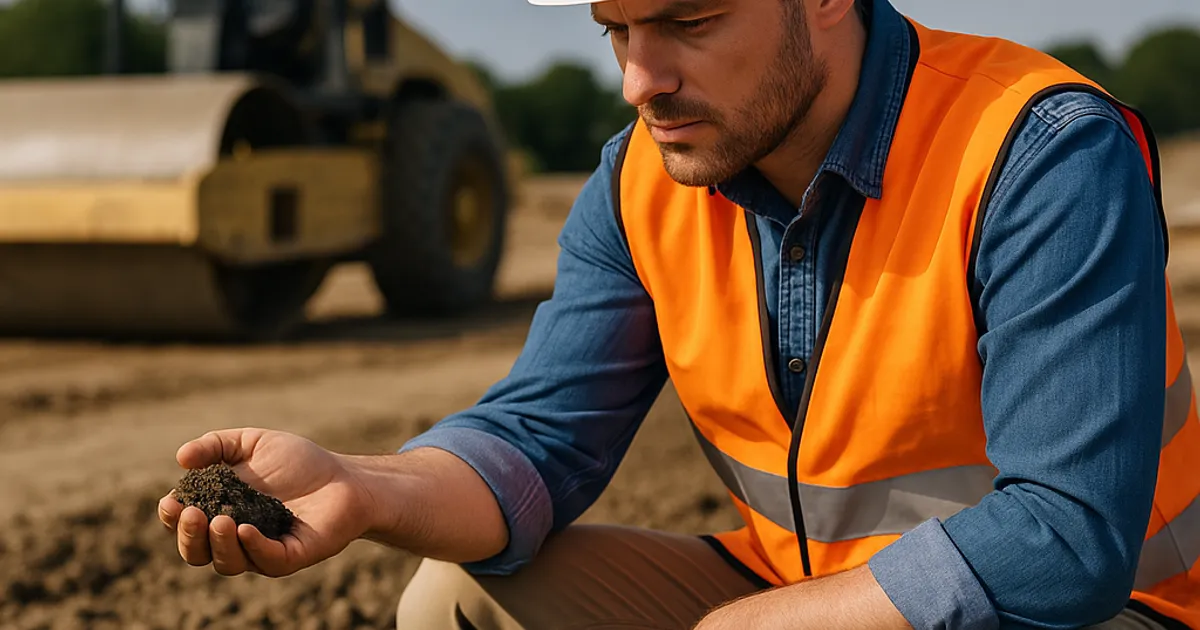
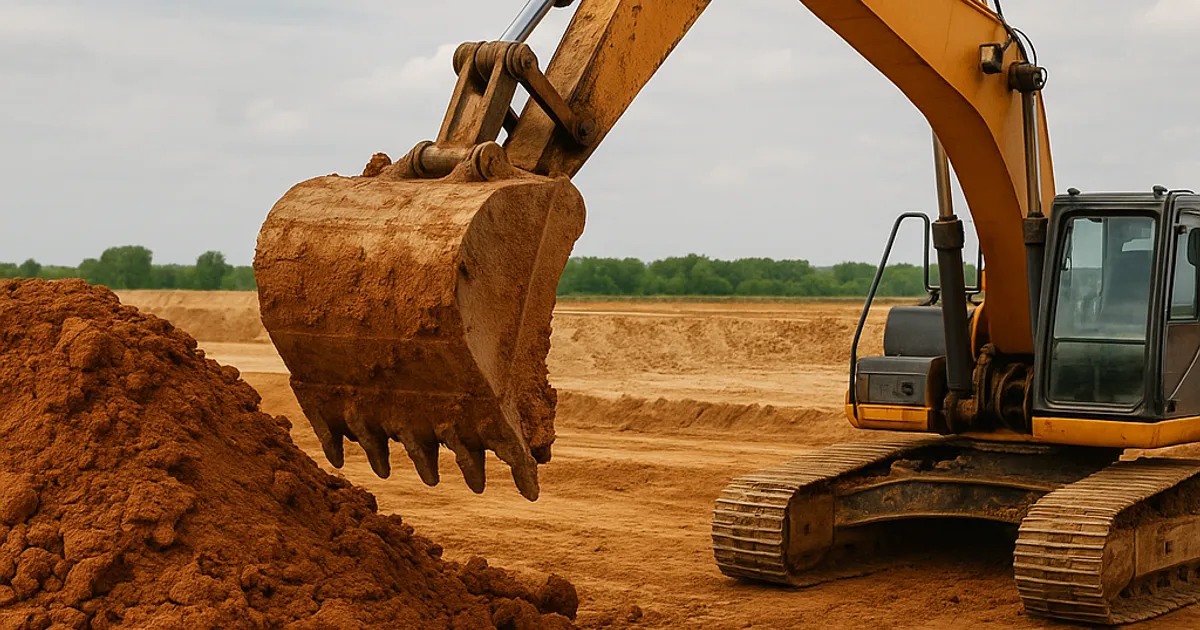
Before the first excavator swings its bucket, before the first stake goes in the ground, and before a single permit is signed, there is a layer of invisible complexity waiting just below the surface of every project site. Soil. It seems straightforward enough — dirt is dirt, right? But anyone who has spent time in the earthwork industry knows that assumption is one of the most expensive mistakes a contractor can make.
Soil testing before excavation is not bureaucratic box-checking. It is the geological intelligence that separates profitable projects from cost-overrun disasters. It is the safety protocol that protects workers from trench collapses that OSHA reports kill an average of 23 workers per year. It is the environmental checkpoint that keeps contractors out of legal trouble with the EPA. And it is the foundational data that determines whether the material you're excavating is an asset — or a liability.
This guide explores every dimension of pre-excavation soil testing: what it involves, why it matters, what the regulatory landscape looks like, how much it costs, and how modern earthwork platforms are helping contractors make smarter decisions about soil from project start to finish.
Why Soil Testing Is the Most Undervalued Step in Excavation Planning
In a typical construction timeline, soil testing often gets rushed, delayed, or — in the most dangerous scenarios — skipped entirely. Project managers feel pressure to move fast, clients want to see ground broken, and geotechnical investigation can feel like an abstract exercise when you're staring at a flat field that looks perfectly stable.
But the numbers tell a different story. The American Society of Civil Engineers (ASCE) estimates that inadequate site investigation is a contributing factor in approximately 50% of all construction cost overruns. A geotechnical study that costs $5,000 to $25,000 upfront can prevent change orders that run into the hundreds of thousands — or project failures that cost millions.
Consider what soil testing actually reveals:
- Load-bearing capacity: Can the ground support the structures planned above it?
- Moisture content and plasticity: Will the soil expand, contract, or shift under pressure or weather changes?
- Contamination: Are there hydrocarbons, heavy metals, or other hazardous materials that require remediation?
- Soil classification: Is this material suitable for reuse as fill, or does it need to be hauled away and replaced?
- Groundwater levels: Where is the water table, and how will it affect excavation stability?
- Compaction potential: How will the soil behave when compacted, and to what standards?
Each of these data points directly influences budget, schedule, safety protocols, equipment selection, and regulatory compliance. Skipping soil testing is not saving time — it is borrowing time against an interest rate that the site will eventually collect.
For earthwork contractors managing multiple projects, understanding which excavated materials are reusable fill versus hazardous waste versus marketable aggregate is also a major revenue question. Platforms like DirtMatch help contractors connect excavated materials with projects that need them — but that matching process starts with knowing exactly what you have, which is only possible after proper soil testing.
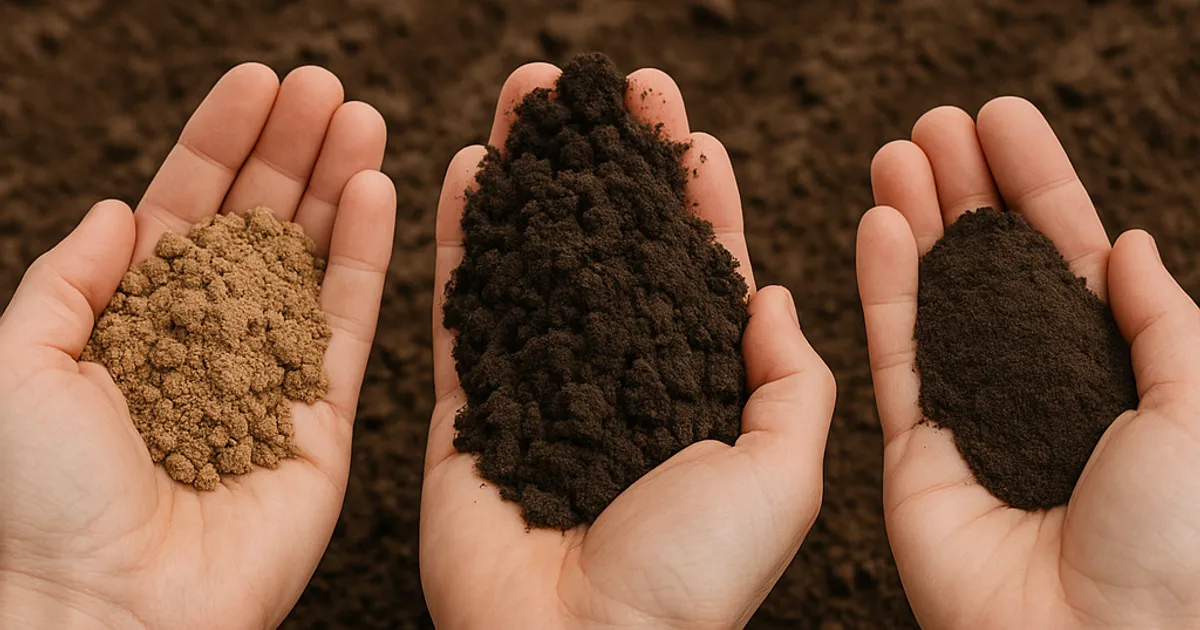
Understanding Soil Classification Systems Used in Excavation
Before diving into testing methods, it's important to understand how soil is classified in the excavation industry, because classification systems directly govern what safety measures are required and how material can be used.
OSHA's Soil Classification System
The Occupational Safety and Health Administration (OSHA) uses a four-category classification system specifically designed for trenching and excavation safety:
- Stable Rock: Natural solid mineral that can be excavated with vertical sides and remains intact while exposed.
- Type A Soil: Most stable. Cohesive soils with an unconfined compressive strength of 1.5 tons per square foot (tsf) or greater. Examples include clay, silty clay, and sandy clay.
- Type B Soil: Cohesive soils with an unconfined compressive strength greater than 0.5 tsf but less than 1.5 tsf. Includes angular gravel and soils subject to fissuring.
- Type C Soil: Least stable. Cohesive soils with unconfined compressive strength of 0.5 tsf or less, granular soils including gravel and sand, submerged soil, and any soil in a sloped, layered system.
The classification determines the required slope angle, shoring system, or shield system for any excavation deeper than five feet. Getting the classification wrong doesn't just create a safety hazard — it creates direct OSHA liability.
USCS and AASHTO Classification
Beyond OSHA's safety-focused system, geotechnical engineers use two primary scientific classification frameworks:
The Unified Soil Classification System (USCS), standardized under ASTM D2487, classifies soils based on grain size distribution and plasticity characteristics. Soils are divided into coarse-grained (gravels and sands) and fine-grained (silts and clays) categories, with further subdivisions based on gradation and Atterberg limits.
The AASHTO Classification System (American Association of State Highway and Transportation Officials, M 145) is used primarily in highway and transportation construction. It classifies soils from A-1 (excellent) to A-7 (poor) based on their suitability as subgrade material.
Understanding which classification system applies to your project — and ensuring your soil test results are interpreted through the correct lens — is essential for material acceptance, compaction specifications, and structural design.
Core Soil Testing Methods: From Field Tests to Laboratory Analysis
Soil testing is not a single test — it is a suite of investigations that range from quick field assessments to detailed laboratory analyses. The scope of testing required depends on project size, soil conditions, regulatory requirements, and intended land use.
Field Testing Methods
The Thumb Penetration Test is the simplest field method referenced in OSHA guidelines. A geotechnical professional pushes their thumb into the soil to estimate unconfined compressive strength — though this is an approximate method used for initial classification only.
Pocket Penetrometer: A handheld spring-loaded device that provides a more quantified estimate of unconfined compressive strength. Readings help classify soil in the field according to OSHA categories.
Standard Penetration Test (SPT): Governed by ASTM D1586, SPT involves driving a standard split-spoon sampler into the ground using a 140-pound hammer dropped 30 inches. The number of blows required to advance the sampler 12 inches (known as the N-value or blow count) provides data on soil density, strength, and liquefaction potential.
Cone Penetration Test (CPT): A cone-tipped rod is pushed into the ground at a constant rate while measuring tip resistance and sleeve friction. CPT provides continuous soil profiling and is particularly useful in soft, fine-grained soils where SPT has limitations.
Vane Shear Test: Used in soft clays and silts to measure in-situ shear strength. A four-bladed vane is pushed into the soil and rotated to determine peak and residual shear strength.
Laboratory Testing Methods
Grain Size Analysis (Sieve Analysis): ASTM D422 — determines particle size distribution to classify gravel, sand, silt, and clay fractions.
Atterberg Limits: ASTM D4318 — determines liquid limit, plastic limit, and plasticity index of fine-grained soils. Critical for understanding shrink-swell behavior, compaction characteristics, and classification.
Proctor Compaction Test: ASTM D698 (Standard Proctor) and D1557 (Modified Proctor) — determines the optimum moisture content at which a soil achieves maximum dry density. Foundational for compaction specifications on any earthwork project.
Unconfined Compressive Strength (UCS) Test: ASTM D2166 — measures the axial compressive stress a cohesive soil specimen can withstand without lateral confinement. Directly informs OSHA soil classification.
Consolidation Test (Oedometer Test): ASTM D2435 — measures how much a fine-grained soil will consolidate under loading over time. Critical for foundation design and predicting long-term settlement.
Permeability Testing: ASTM D2434 — determines how quickly water moves through a soil sample. Critical for drainage design, dewatering planning, and environmental assessments.
Chemical and Contamination Analysis: Measures pH, sulfate content, chloride content, organic matter, and the presence of hazardous substances such as petroleum hydrocarbons, VOCs, heavy metals, and PCBs. Required for brownfield sites, former industrial properties, and areas near known contamination zones.
The Geotechnical Investigation Process: A Step-by-Step Breakdown
A full pre-excavation geotechnical investigation follows a structured process. Here's how it typically unfolds on a mid-to-large construction project:
Step 1: Desktop Study and Records Review
Before any boots hit the ground, geotechnical engineers review historical records: aerial photography, geological surveys, old property records, environmental databases (such as EPA's ECHO database), USGS soil maps, and any available previous investigation reports for the site or adjacent properties.
Step 2: Site Reconnaissance
A physical walkover of the site identifies surface features that may indicate subsurface conditions — sinkholes, unusual vegetation patterns, areas of poor drainage, signs of fill material, or visible bedrock outcrops.
Step 3: Subsurface Investigation Plan
Based on the desktop study and reconnaissance, a boring and sampling plan is developed. This specifies the number, location, and depth of test borings or CPT soundings. Larger or more complex sites require more investigation points. ASTM D420 provides guidance on the scope of site characterization.
Step 4: Field Investigation
Test borings are drilled, soil samples are collected, in-situ tests are conducted, and groundwater levels are monitored. This phase typically takes one to three days for a standard commercial site.
Step 5: Laboratory Testing
Collected samples are sent to a geotechnical laboratory for the suite of tests specified in the investigation plan. Laboratory turnaround typically takes one to three weeks.
Step 6: Engineering Analysis and Report
The geotechnical engineer analyzes all field and laboratory data and produces a Geotechnical Engineering Report (GER) that includes soil profiles, design recommendations, and construction considerations. This report becomes a contract document referenced throughout the project lifecycle.
Step 7: Review and Implementation
Project engineers, contractors, and safety officers review the GER and incorporate its recommendations into construction plans, specifications, and excavation safety programs.
Soil Contamination Testing: Environmental and Legal Imperatives
Not all soil testing is about structural performance. Environmental contamination testing has become an increasingly critical component of pre-excavation investigation — and the legal and financial consequences of discovering contamination after excavation begins can be catastrophic.
When Environmental Testing Is Required
Environmental site assessments are typically triggered by:
- Phase I ESA findings: If a Phase I Environmental Site Assessment (per ASTM E1527-21) identifies recognized environmental conditions (RECs), a Phase II ESA involving soil and groundwater sampling is required.
- Prior land use: Former gas stations, dry cleaners, manufacturing facilities, agricultural land (pesticide/herbicide contamination), or sites near Superfund locations.
- Regulatory requirements: Many state environmental agencies and local jurisdictions require soil sampling before permits are issued for certain land uses.
- Lender/investor requirements: Financial institutions frequently require environmental clearance before funding construction projects.
Common Contaminants Found in Excavated Soil
| Contaminant Type | Common Source | Regulatory Framework |
|---|---|---|
| Petroleum Hydrocarbons (TPH) | Gas stations, USTs, spills | EPA RCRA, state UST regulations |
| Volatile Organic Compounds (VOCs) | Dry cleaners, industrial solvents | EPA CERCLA, state cleanup standards |
| Heavy Metals (lead, arsenic, cadmium) | Industrial sites, older buildings, mining | EPA Brownfields, RCRA |
| Polycyclic Aromatic Hydrocarbons (PAHs) | Coal tar, asphalt, combustion | State environmental standards |
| Asbestos-Containing Materials (ACM) | Older construction debris, fill material | EPA NESHAP, OSHA 1926.1101 |
| PFAS Compounds | Military sites, airports, industrial facilities | Emerging EPA standards (MCLs set 2024) |
Contaminated soil cannot simply be hauled away without proper characterization. Under EPA and state regulations, excavated contaminated soil is classified as solid or hazardous waste and must be managed according to RCRA regulations, transported by licensed haulers, and disposed of at permitted facilities.
The cost differential is enormous: clean fill disposal might cost $15–$30 per ton, while hazardous waste disposal can run $150–$500 or more per ton. Discovering contamination after mobilization — rather than before — can add weeks of delay and hundreds of thousands in unplanned costs.
For projects in regions with complex site histories, such as the dirt exchange in San Francisco or dirt exchange in Boston markets where brownfield redevelopment is common, environmental soil testing is often a regulatory prerequisite, not just a best practice.
Safety Implications: How Soil Testing Prevents Excavation Fatalities
Trench and excavation cave-ins are among the most lethal hazards in construction. According to OSHA data, a cubic yard of soil can weigh as much as 3,000 pounds — the weight of a small car. When a trench wall collapses, workers have seconds to escape and often cannot.
The Link Between Soil Testing and Trench Safety
OSHA's excavation standard (29 CFR 1926 Subpart P) requires that a competent person classify the soil at every excavation site before work begins, using visual and manual tests. However, for complex sites, deeper excavations, or unusual soil conditions, formal geotechnical investigation provides far more reliable data than field classification alone.
Specifically, soil testing informs:
- Slope ratios: OSHA requires different slope angles for different soil types. Type A allows a 3/4:1 (H:V) slope; Type C requires a much more conservative 1½:1 slope. Getting this wrong with unstable soil is fatal.
- Shoring design: Engineered shoring, sheet piling, or trench box specifications require accurate knowledge of soil unit weight, cohesion, and internal friction angle.
- Dewatering requirements: High groundwater levels discovered only after excavation begins can cause rapid slope instability and require emergency dewatering — at significant cost and risk.
- Vibration sensitivity: Soils near active roadways or construction equipment are subject to dynamic loading. Some soils, particularly loose sands and silts near the groundwater table, are susceptible to liquefaction under vibration.
Between 2011 and 2018, the Bureau of Labor Statistics recorded 271 fatal work injuries in trenching and excavation operations. The vast majority of these deaths were preventable with proper soil assessment and protective systems.
Find or Post Dirt, Rock & Aggregate
Join thousands of contractors using DirtMatch to buy, sell, and exchange earthwork materials.
Try DirtMatch FreeSoil Testing and Material Reuse: Turning Excavated Dirt Into an Asset
One of the most economically significant outcomes of soil testing is the determination of whether excavated material can be reused on-site, sold to other projects, or must be disposed of. This single determination can swing a project's earthwork budget by tens or even hundreds of thousands of dollars.
The Economics of Soil Reuse
On large-scale grading and development projects, cut-to-fill balancing — using excavated material as engineered fill elsewhere on the same site or a nearby project — is the gold standard for cost efficiency. But material can only be accepted as structural fill if testing confirms it meets the required specifications.
Typical structural fill acceptance criteria include:
- Plasticity Index (PI) ≤ 15 (varies by spec)
- No organic material exceeding 3% by weight
- Maximum particle size meeting gradation limits
- Compaction to 90–95% of Modified Proctor maximum dry density
- Free of contamination above action levels
When soil testing confirms that excavated material meets these specifications, it becomes a tradeable commodity rather than a disposal cost. A contractor excavating 10,000 cubic yards of clean, granular fill material could potentially sell that material at $5–$20 per cubic yard rather than paying $8–$25 per cubic yard to dispose of it — a swing of $130,000 to $450,000 on a single project.
This is precisely where DirtMatch creates real value for earthwork contractors. The platform connects contractors who have tested, characterized excavated material with projects that need fill — creating a marketplace where soil testing data is the foundation of every transaction. When you know what you have, you can match it to who needs it. Contractors in high-growth markets like dirt exchange in Denver and dirt exchange in Los Angeles are already using this approach to turn excavation spoils into revenue streams.
Soil Amendment and Improvement Options
When soil testing reveals material that doesn't quite meet reuse specifications, soil improvement techniques may make it usable:
- Lime stabilization: Adding hydrated lime to high-plasticity clays reduces PI and improves load-bearing capacity. Commonly used in road subgrade construction per AASHTO specifications.
- Cement stabilization: Portland cement mixed with native soil increases strength and reduces moisture sensitivity. ASTM D4609 provides guidance.
- Fly ash treatment: A byproduct of coal combustion, fly ash can improve the engineering properties of both fine-grained and granular soils.
- Geosynthetic reinforcement: Geogrids, geotextiles, and geocells can improve the performance of marginal fill materials.
Knowing which improvement technique is appropriate — and whether the cost of improvement is less than the cost of importing replacement fill — requires the data that only proper soil testing provides.
Regulatory Landscape: Federal, State, and Local Requirements
Soil testing requirements in the United States operate across multiple overlapping regulatory frameworks. Understanding which requirements apply to your project is a critical part of pre-excavation planning.
Federal Requirements
OSHA 29 CFR 1926 Subpart P mandates soil classification for all excavations deeper than five feet and requires protective systems for all excavations deeper than five feet in soil that is not stable rock. This is the minimum federal safety baseline.
EPA CERCLA and RCRA govern the characterization and disposal of contaminated excavated soil. Any soil that meets the definition of hazardous waste under RCRA must be managed accordingly, regardless of project type.
EPA National Emission Standards for Hazardous Air Pollutants (NESHAP) applies when asbestos-containing material is encountered during demolition or renovation — which can include buried construction debris found during excavation.
Section 404 of the Clean Water Act requires permits from the Army Corps of Engineers for excavation activities in or near waters of the United States, including wetlands. Soil testing data is often required as part of the permit application.
State-Level Requirements
Many states have their own environmental and construction standards that exceed federal minimums:
- California: The California Department of Toxic Substances Control (DTSC) has specific requirements for soil management at contaminated sites, and the California Building Code incorporates geotechnical requirements.
- Washington State: Ecology Department regulates contaminated soil under the Model Toxics Control Act (MTCA), with cleanup standards that may differ from federal levels. Projects involving dirt exchange in Seattle should account for MTCA requirements.
- Colorado: CDPHE regulates contaminated soil and has specific guidance for voluntary cleanup program participants. The dirt exchange in Boulder market frequently encounters legacy mining-related contamination.
- Massachusetts: The Massachusetts Contingency Plan (MCP) governs cleanup of oil and hazardous materials, with specific soil and groundwater standards.
Local Requirements
Municipalities frequently layer additional requirements on top of state and federal standards. Many jurisdictions require geotechnical reports as part of building permit applications. Some require independent third-party review of geotechnical conclusions. Urban areas with combined sewer systems may have specific requirements for dewatering discharge during excavation.
Cost of Soil Testing: What to Budget and Why It's Worth Every Penny
One of the most common objections to comprehensive soil testing is cost. Here is a realistic breakdown of what different levels of investigation typically cost, and how those costs compare to the risks of proceeding without them.
Typical Soil Testing Cost Ranges
| Testing Type | Typical Cost Range | What It Covers |
|---|---|---|
| Basic geotechnical borings (3-5 borings) | $3,000 – $8,000 | Site classification, bearing capacity, SPT data |
| Full geotechnical investigation (commercial project) | $8,000 – $30,000 | Borings, lab testing, GER report |
| Phase I Environmental Site Assessment | $1,500 – $6,000 | Records review, site reconnaissance, report |
| Phase II Environmental Site Assessment | $5,000 – $50,000+ | Soil and groundwater sampling, lab analysis |
| Contaminated soil remediation (per ton) | $150 – $500+ | Hazardous waste handling and disposal |
| Trench collapse incident cost (average) | $150,000 – $3,000,000+ | Fatality/injury liability, project delays, OSHA fines |
| OSHA fine for willful excavation violations | Up to $156,259 per violation | Regulatory penalties |
The return on investment calculation is not complicated. A $15,000 geotechnical investigation on a $2 million excavation project represents 0.75% of the project cost — and provides the data foundation for every major decision made on that project. The cost of a single significant cave-in, contamination discovery, or foundation failure dwarfs that investment many times over.
Who Pays for Soil Testing?
Responsibility for soil testing costs typically falls to the project owner as part of the design and permitting process, though the specific allocation depends on project delivery method:
- Design-Bid-Build: Owner commissions geotechnical investigation as part of design process; results are provided to bidding contractors.
- Design-Build: Design-build team typically conducts investigation as part of design services.
- CM at Risk: Often collaborative, with investigation conducted during preconstruction services.
When contractors bid on projects without owner-provided geotechnical data, they must either conduct their own investigation (adding cost) or build contingency into their bid (which increases risk pricing). Either way, the absence of soil data is expensive.
Special Considerations: Soil Testing in High-Stakes Project Types
Certain project types carry heightened soil testing requirements and consequences. Understanding these specialized contexts helps contractors and project teams prepare appropriately.
Foundation Engineering Projects
High-rise buildings, bridges, and heavy industrial facilities place extraordinary demands on soil investigation. Deep foundation systems — driven piles, drilled shafts, or micropiles — require precise knowledge of soil stratigraphy to design appropriate bearing depths and capacity. A single mischaracterized soil layer can require expensive foundation redesign or even load-testing programs after construction.
Road and Highway Construction
State DOT specifications for subgrade soils are exacting. California, Texas, Florida, and other high-infrastructure states have detailed specifications for plasticity index, R-value (California bearing ratio equivalent), and gradation of road base and subgrade materials. Failing compaction tests because of incorrect moisture-density relationships — detectable in advance with a Proctor test — results in costly re-compaction or material rejection.
Landfill and Waste Management Facilities
Regulatory requirements for liner systems, leachate collection, and final cover systems at municipal solid waste landfills require extensive geotechnical and hydraulic characterization of native soils. Both EPA Subtitle D regulations and state solid waste regulations specify minimum permeability requirements for compacted clay liner materials.
Coastal and Waterfront Projects
Soils in coastal environments — whether in San Diego, San Francisco, or Boston — often include soft marine clays, organic deposits, and fill materials with extremely low bearing capacity. Settlement analysis for structures on these soils requires consolidation testing data that can only be obtained from laboratory investigation. Liquefaction potential analysis is also critical in seismically active coastal regions.
How Technology Is Transforming Pre-Excavation Soil Intelligence
The geotechnical industry is not immune to technological disruption. Several emerging tools are changing how soil data is collected, analyzed, and applied.
Remote Sensing and LiDAR
Aerial and satellite-based remote sensing, including LiDAR (Light Detection and Ranging), provides high-resolution topographic data that can reveal subtle surface features indicative of subsurface conditions — sinkholes, landslide scarps, compressible organic deposits. This data increasingly supplements traditional ground-truth investigation.
Digital Soil Mapping
Organizations like the USDA Natural Resources Conservation Service (NRCS) maintain the Web Soil Survey — a free online database providing county-level soil maps and basic engineering properties across the entire United States. While not a substitute for site-specific investigation, this resource provides valuable preliminary information that can guide the scope of formal testing.
Automated Real-Time Monitoring
Advanced projects now embed inclinometers, piezometers, and settlement monitors in critical soil zones during excavation, providing real-time data on soil movement and groundwater changes. This allows proactive intervention before conditions become dangerous.
Data Platforms for Earthwork Matching
Perhaps the most practical technological advance for day-to-day earthwork contractors is the emergence of digital platforms that translate soil testing data into business decisions. Knowing what you have — its classification, its compaction characteristics, its contamination status — is only half the equation. The other half is finding a market for it or a source of what you need.
If you want to see how soil data can drive smarter project decisions and material logistics, explore how DirtMatch works to connect contractors with tested, characterized soil materials across regional markets. When excavated soil is properly characterized through testing, it moves from being an unknown cost center to a quantifiable, tradeable resource — and that's when platforms like DirtMatch deliver maximum value.
Building a Soil Testing Program Into Your Excavation Workflow
For contractors and project teams looking to systematize soil testing as a standard operating procedure rather than an afterthought, here is a practical framework:
Pre-Bid Phase
- Review available soil maps, geological surveys, and historical site records.
- Include a geotechnical investigation allowance in all preliminary budgets.
- Request existing geotechnical data from project owners before finalizing bids.
- Factor soil uncertainty into contingency reserves when data is unavailable.
Design and Permitting Phase
- Commission full geotechnical investigation with scope appropriate to project size and complexity.
- Conduct Phase I ESA for all sites with recognized environmental conditions.
- Determine whether Phase II ESA is required and budget accordingly.
- Incorporate geotechnical recommendations into excavation plans and safety program.
Pre-Construction Phase
- Review GER with entire project team including safety officer, superintendent, and subcontractors.
- Develop site-specific excavation safety plan based on soil classifications.
- Train competent persons in field soil classification per OSHA requirements.
- Identify contingency plans for unexpected conditions.
Construction Phase
- Have competent person classify soils at each excavation daily and when conditions change.
- Document soil conditions with photographs and written logs.
- Monitor groundwater levels continuously in sensitive areas.
- Test compaction of engineered fill using nuclear density gauge (ASTM D6938) or sand cone method (ASTM D1556) at specified frequencies.
Post-Excavation / Material Management Phase
- Match excavated materials with their test data for reuse decisions.
- Document chain of custody for any contaminated material disposal.
- Capture characterization data for any surplus material being offered to other projects.
Contractors who follow this workflow systematically not only reduce risk — they create a competitive advantage. Well-characterized, tested surplus material is far easier to place with other projects, and the ability to get started with DirtMatch and post tested materials quickly can turn excavation spoils into project revenue rather than disposal expense.
Actionable Takeaways for Earthwork Contractors
Soil testing before excavation is not a luxury or a bureaucratic hurdle — it is the professional and financial foundation of every successful earthwork project. Here are the key principles to carry into your next project:
- Budget for soil testing at project inception, not as an afterthought. The cost is always lower than the cost of surprises.
- Match your investigation scope to your project risk. A $50 million foundation project needs a more thorough investigation than a shallow utility trench.
- Train and certify your competent persons in OSHA soil classification — this is a legal requirement, not optional.
- Treat contamination as a probability, not a possibility on any site with an unknown or industrial history. Phase I ESA is cheap insurance.
- Use soil test data to unlock material value. Characterized, tested fill material is marketable. Uncharacterized material is a liability.
- Document everything. Photographs, field logs, laboratory reports, and compaction test records protect you legally and professionally.
- Stay current on regulatory changes. EPA PFAS standards, state cleanup levels, and OSHA guidance evolve. What was compliant three years ago may not be today.
- Leverage technology. From real-time monitoring to digital material matching platforms, the tools available to earthwork contractors today make soil management more efficient than ever before.
The hidden secrets below your project site are always there — the only question is whether you discover them on your terms, or they discover you on theirs. Invest in the knowledge, follow the standards, and let soil testing be the competitive edge that keeps your projects safe, profitable, and on schedule.